1549 South 300 West Salt Lake City, Utah 84115
Monday to Friday 8:30 AM - 5:00 PM | Saturday by Appointment only
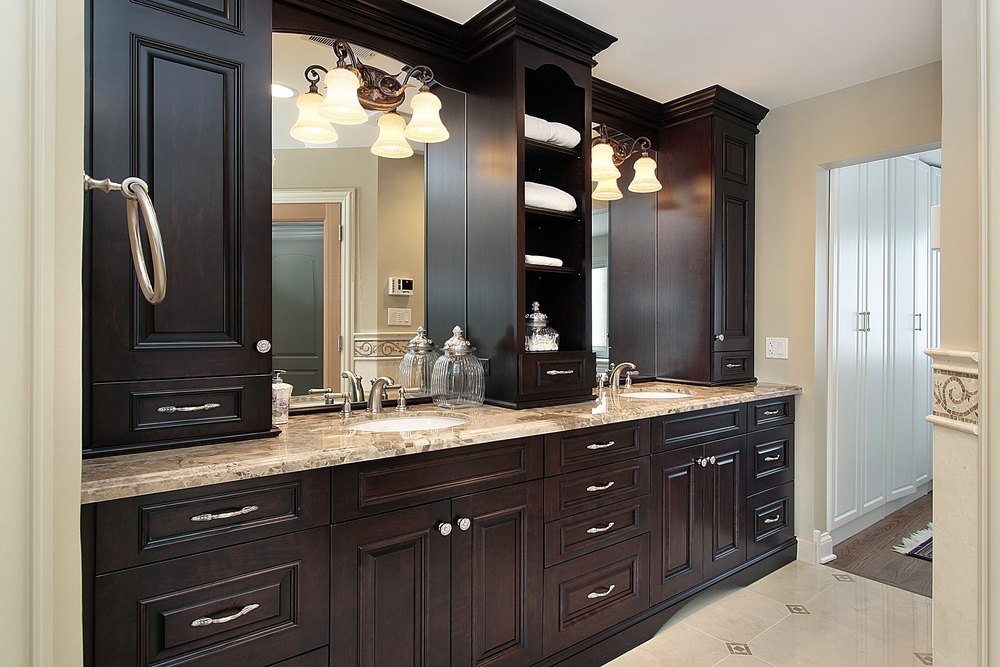
At Swirl Woodcraft, we’re proud of the huge variety of bathroom vanities we offer our clients. We carry traditional, rustic and modern bathroom vanities in numerous different specific styles, with a wide selection of paints, stains, finishes and other design factors.
We’re also here to offer expertise to those looking to install one of our beautiful modern vanities in their bathroom. If this is your first time taking on such a DIY project, you should take care to approach things properly and take the right precautions. Let’s go over several important areas to consider as you plan out bathroom vanity installation.
For starters, ensure you have all the proper tools and equipment required for the job on hand before you get going. There’s nothing worse than being a third of the way into an installation before realizing you have to stop and head to the home improvement store for a tool you don’t have.
A few tools you may require for your vanity installation include: Hammer, tape measure, drill, leveling tool, caulk, marking pencil, wrenches (preferably adjustable), bucket, safety glasses, safety gloves, chisel, knife and potentially others. The specifics here will depend on the precise vanity you’re installing – your manufacturer’s guide will list any other tools you might require.
Once you have your tools organized, it’s time to ask an important question: Do you need to re-do or replace any plumbing areas during your installation? Many systems will be set up such that very limited changes are needed, or perhaps even none at all. But in other cases, even the most handy homeowners will need to call professional plumbers to assist them with this area.
If you’re performing your own plumbing upgrades here, be sure to keep the water valves under the sink off. In addition, keep a bucket around to collect any residual water that leaves drains.
As you’re preparing to install the vanity into the wall, use your leveling tool to measure from each side of the wall. Make sure the entire vanity is fully even before you secure it.
One pro tip on the heavy lifting section of the installation: Remove all the doors and drawers from the vanity before installing. This not only makes it weigh less, but removes parts that might fall out or become damaged during the actual installation.
Finally, once your vanity is in place, open each valve one at a time to confirm there are no leaks in your new sink. If you do locate a leak, you can attempt to tighten the pipe that’s causing it. If this doesn’t work, try plumber’s tape or plumber’s putty, or simply call a plumber for assistance.
For more on installing a bathroom vanity, or to learn about any of our custom kitchen cabinets or other woodworking projects, speak to the staff at Swirl Woodcraft today.