1549 South 300 West Salt Lake City, Utah 84115
Monday to Friday 8:30 AM - 5:00 PM | Saturday by Appointment only
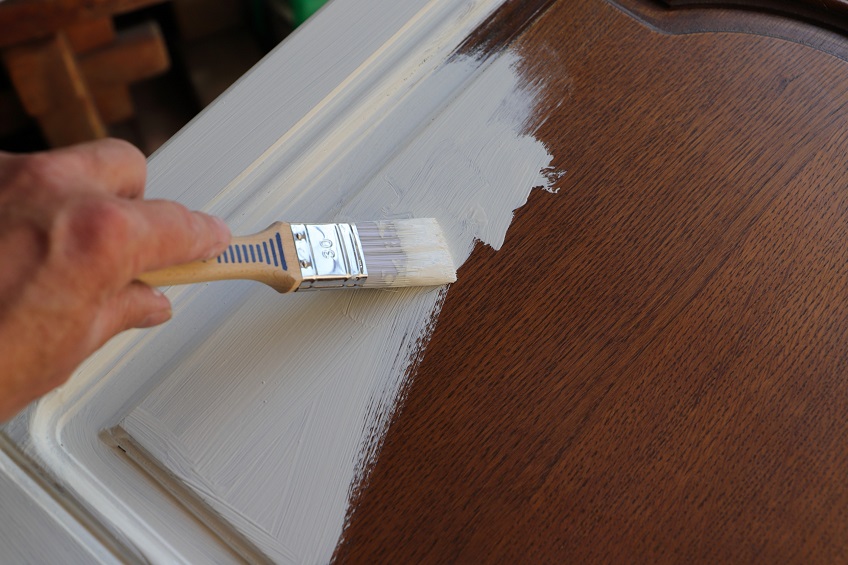
We’re going to be honest: painting cabinetry is not an easy task. Many influencers tout on social media that anyone can do a simple cabinet DIY project, but there is a lot to consider before you tackle that task. Beginners should leave this job to the professionals, as it’s time consuming and expensive to ensure you do it right. Smaller projects may have a little more room for learning errors, but if your project is large, such as a kitchen or bathroom, you will want those cabinets to be flawless.
Before you get far down the path, make sure you investigate what your current cabinets are made of. The paint you use will depend heavily on the cabinet material. Wood is porous, absorbing some of the paint, but materials like laminate will have a much harder time getting paint to stick. You’ll also need to know what type of finish, such as a stain or glaze, is already on the cabinet. This will help you determine what type of prep work is needed. Most of the time, all finishing layers must be stripped away, which is time-intensive and can be hazardous due to the required chemicals.
You’ll also want to honestly assess your cabinets to ensure they’re in good enough shape to paint them. You don’t want to spend weeks of time and hard work painting cabinetry that really just needs to be replaced. It’s important that you’re solid in your decision as well because once you paint a stained or glazed wooden cabinet, you won’t be able to go back to that. If you want to change them in the future, your only option is to paint them again.
If you’ve committed to painting your cabinets, it certainly can be an awesome change. If you’re ready to invest the time and hard work into painting cabinets, we recommend following these steps:
If you need a change and are unsure about painting, contact us for some guidance.